Why are contact points important?
Why are contact points important?
They are important in that they act as support points where weight or pressure is distributed. The way in which this pressure is distributed at these contact points affects the workings of the surrounding muscles and joints. To give a well-known example: when the left thumb is pressed against the neck of the violin with too much pressure, it sets off a chain reaction that negatively impacts the mobility of the hand which can result in problems with vibrato and shifting etc.
Many of us instinctively exert too much pressure at our contact points, which results in wasted effort and a reduced feeling of comfort that ultimately compromises the sound.
One of the main purposes of paying attention to the contact points is to monitor the pressure at each point by tuning into the sensation of the hand and adjusting the pressure accordingly. However, it is perhaps more important to observe when these contact points change. They can change with an increase or decrease in applied pressure, but they can also change by way of additional contact points being used and existing contact points being removed, knowingly or otherwise.
One example of an extra contact point is when the left wrist touches against the body of the violin when shifting to 3rd / 4th position. If too much pressure is used, this additional contact point between the wrist and the body of the violin can create a feeling of inconsistency in the left hand and may result in a violinist unintentionally relying on this contact point to their disadvantage.
Some players avoid such additional contact points to allow the hand to feel more secure, as the contact points remain more consistent regardless of the position on the fingerboard. When each position feels familiar in the hand through the application of conscious and consistent contact points, the number of variables affecting the workings of the hand are reduced which can help to simplify the movements of the arm and hand.


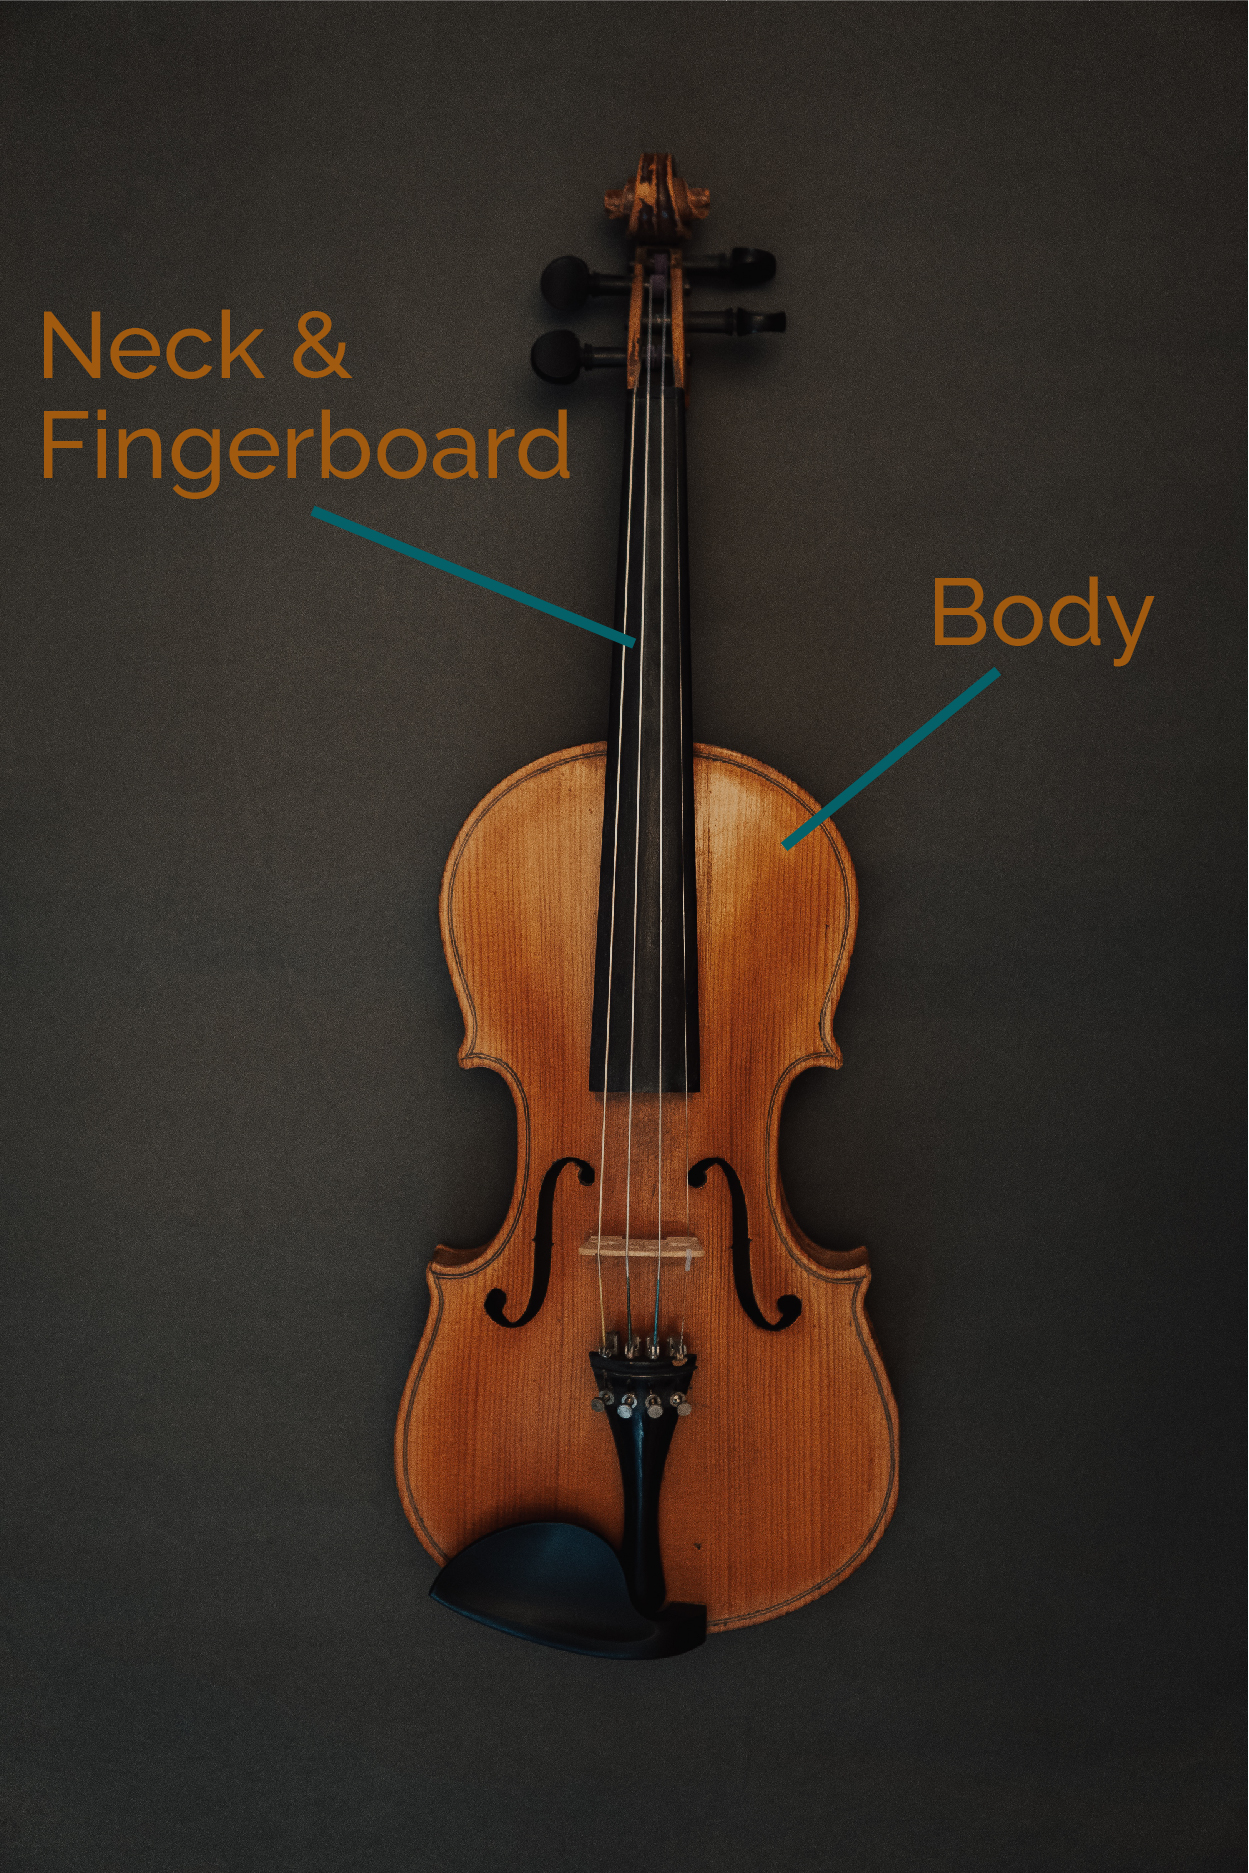
Where are the contact points between the left hand and the violin?
1. The pad of the thumb against the neck of the violin.
2. The base of the index finger against the neck of the violin*
3. The tips or pads of whichever fingers are on the fingerboard.
Where are the contact points between the left hand and the violin?
1. The pad of the thumb against the neck of the violin.
2. The base of the index finger against the neck of the violin*
3. The tips or pads of whichever fingers are on the fingerboard.

*The base of the index finger is often removed as a contact point for techniques such as vibrato, as it helps the hand to waver more freely; and some players don’t use it as a contact point at all (e.g. Augustin Handelich). A common issue related to this contact point is when it acts as a counterpressure to the thumb and thereby facilitates the squeezing of the violin neck between the thumb and the base of the index finger. When using this contact point, it is important to use it gently with minimal pressure.
It is also worth noting that, when removing the base of the index finger as a contact point, it could potentially result in increased pressure being exerted at the thumb in an effort to create space between the violin neck and the base of the index finger.
As one moves to the higher positions on the fingerboard (e.g. 5th / 6th position), the base of the index finger is removed as a contact point. In these higher positions, the only contact points between the left hand and the violin tend to be the thumb and the tips or pads of whichever fingers are placed on the fingerboard. This could be a reason to remove the contact point at the base of the index finger when playing in the lower positions also, where it is more commonly used, in the interest of keeping one’s contact points consistent in order to achieve a feeling of greater security and control in the left hand. It is important to experiment in order to find out what is most practical and comfortable for you as an individual.
How can I apply this knowledge in my practice?
There are numerous ways in which you can apply this idea when practicing. The first step is to become aware of the contact points that you currently use. We can do this by keeping an eye on the left hand as we play, with the intention of noticing all the contact points between the left hand and the violin. In seeing the contact points and by keeping an eye on the hand as we play, it allows us to determine whether a contact point is added or removed while playing certain notes or passages. From this point we can ascertain as to whether the contact point in question is serving a useful purpose or hindering the workings of the hand.
Our sense of touch is another important tool that can be used when investigating the functions of one’s contact points. We can utilise this sense by feeling the sensation in the hand at a given contact point. This enables us to determine whether we want to increase or decrease the pressure at each contact point. In attempting to tune into the sensation of the hand, it may be helpful to close your eyes to block out visual distractions, thereby making it easier to concentrate on the sensation of the hand.
If you aim for a feeling of comfort, ease and fluidity in the left hand, then the weight/pressure exerted at each point can be adjusted in line with these intentions. It may also be worth experimenting with the extremes in terms of the pressure exerted at a given contact point: How does the lightest amount of pressure feel and how does this impact the workings of the hand? What about the feeling of much more pressure? Such questions can be asked regarding any contact point and may be helpful in determining solutions in your own practice.